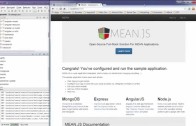
Install MEAN.js 0.4.0 and run using Gulp
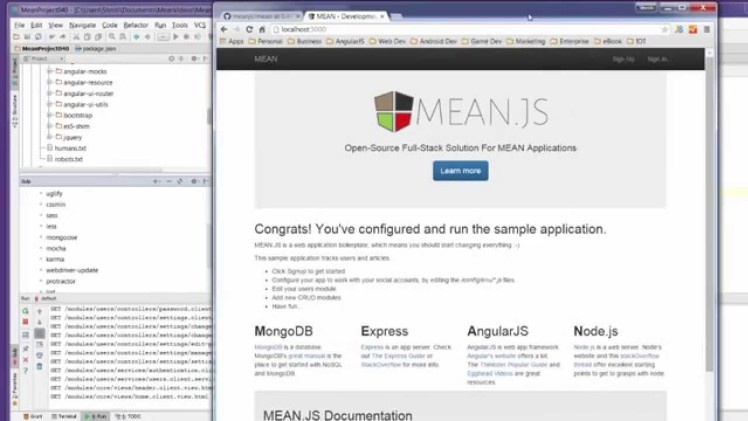
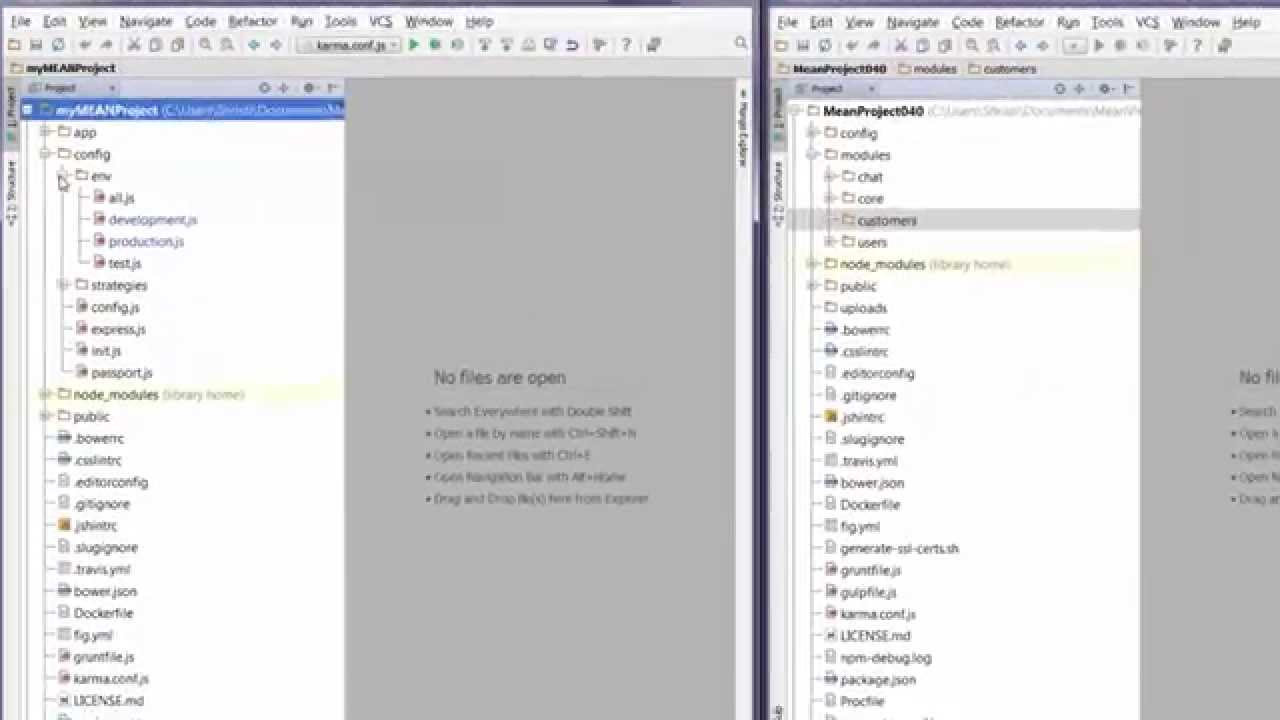
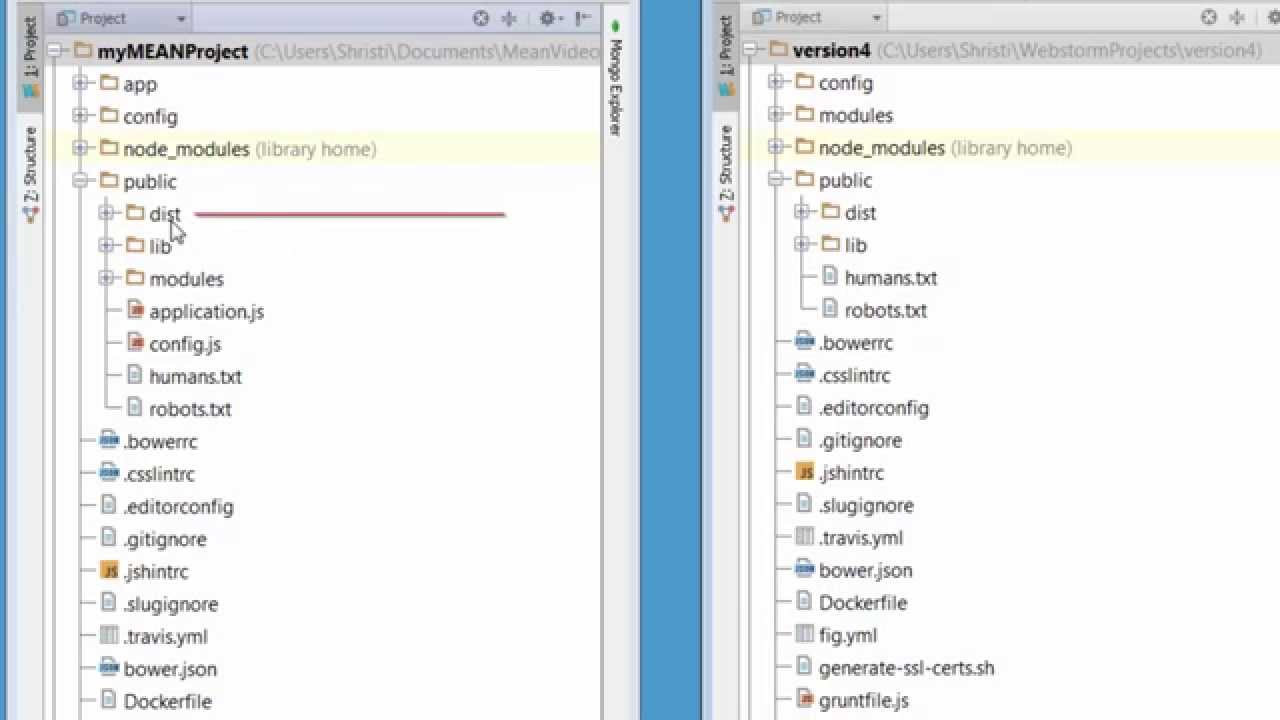
It’s time to take MEAN.js version 0.4.0 for a spin! We’ll go through the installation process using the new generator, and run the new app using gulp.
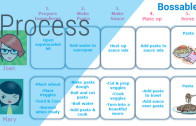
Business Processes and Workflows – Part 2
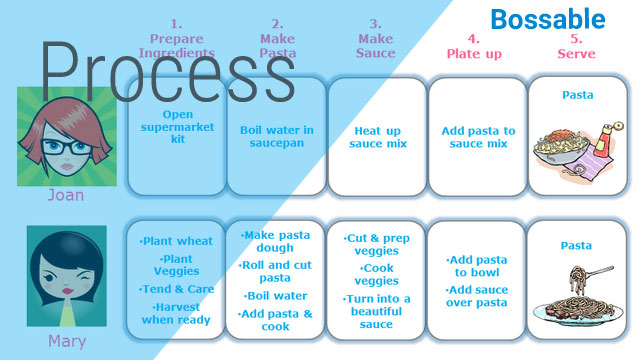
A context diagram is a great place to start exploring. It lets us look at a problem from the outside, and peel away the layers until we get to the core. This is a great way to understand how a business interacts with the entities that live outside of it.
MEAN Stack – Deploy to Digital Ocean
In this video we’ll deploy our app to DigitalOcean.
For a free $10 Credit – use my referral ID: 3077d5b2118a www.digitalocean.com/?refcode=3077d5b2118a
We look at:
– The quick steps to create a new Digital Ocean account
– Downloading PuTTY if you’re using a Windows machine
– Creating SSH keys using PuTTYgen
– Adding SSH keys to Digital Ocean
– Creating a new Node.js Droplet
– Using PuTTY to connect to our new Droplet
– Checking the Node.js version of our Droplet
– Push our app up quickly to Bitbucket or GitHub
– Copy the SSH/HTTPS link for our Bitbucket project
– Install Git on our Droplet
– Create a copy of the app on our Droplet using Git and Bitbucket
– CD into the folder for the new app
– Npm install
– Bower install
– Grunt install
– Run our app using Grunt
– Connecting and opening up our app
AngularJS + Nodemailer Contact Form
In this tutorial video we’ll create a working contact form! Each time a user sends a message using the contact form, an email will be sent to your designated email address.
MEAN Stack – Intro to Bootstrap Buttons, Glyphicons, Navbar – Day 3
We look at:
– Continuing to build based on our App Design (use cases, storyboard, and wireframes)
– An Introduction to Bootstrap Buttons
– An Introduction to Bootstrap Glyphicons
– A Quick Intro to Chrome Developer Tools
– An Introduction to Bootstrap NavBars
– Changing the color of the MEAN Stack NavBar
– Changing the Brand Label on the NavBar
Make your MEAN Stack App a Meteorjs App
Lets take the Mean Stack angular material design app created in the AngularJs Material Starter series, and move the code into a new Meteorjs app.
Business Goals, Feasibility and Fit Gap – Part 3
This approach is not too dissimilar from something that you might see in a business case. After all, the more we understand about the business drivers, the more we can reduce assumptions, and focus on the real, underlying problems.
MEAN Stack – Customer CRUD Module with Yeoman – Day 9
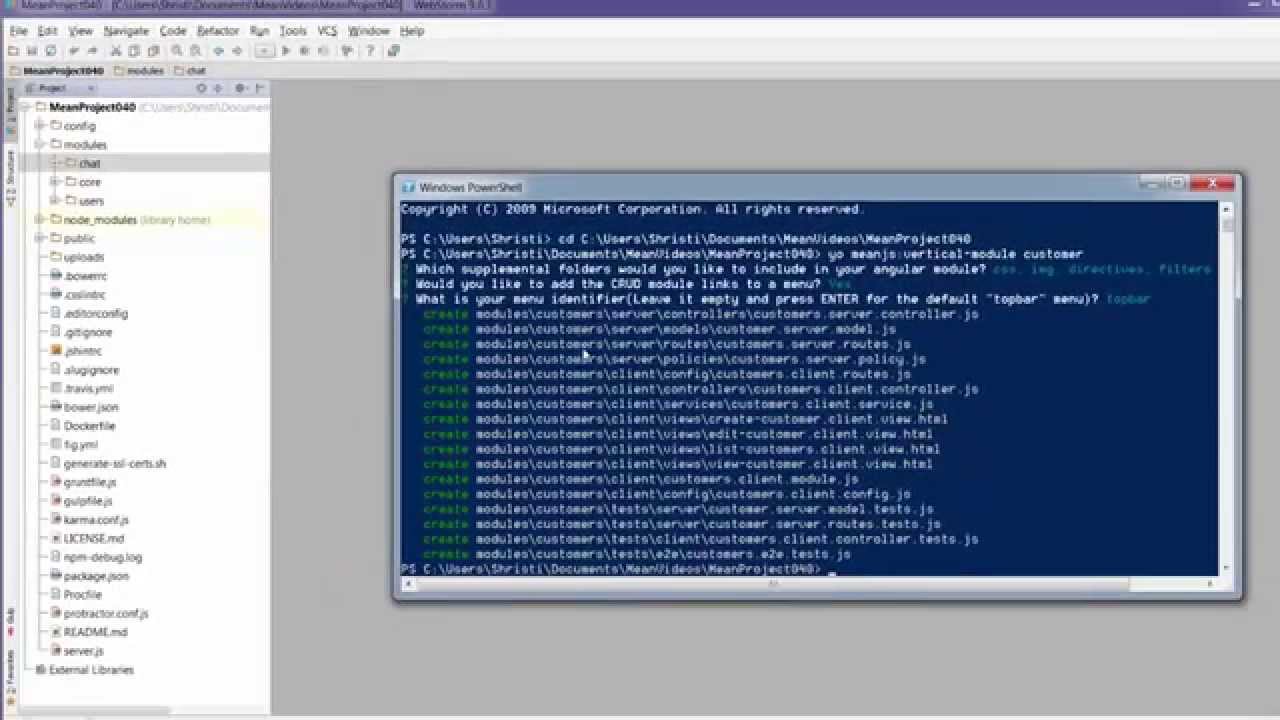
In this video we’ll start to look at the Customers Pages, and create our very own Customer CRUD Module using the yeoman generator.
We look at:
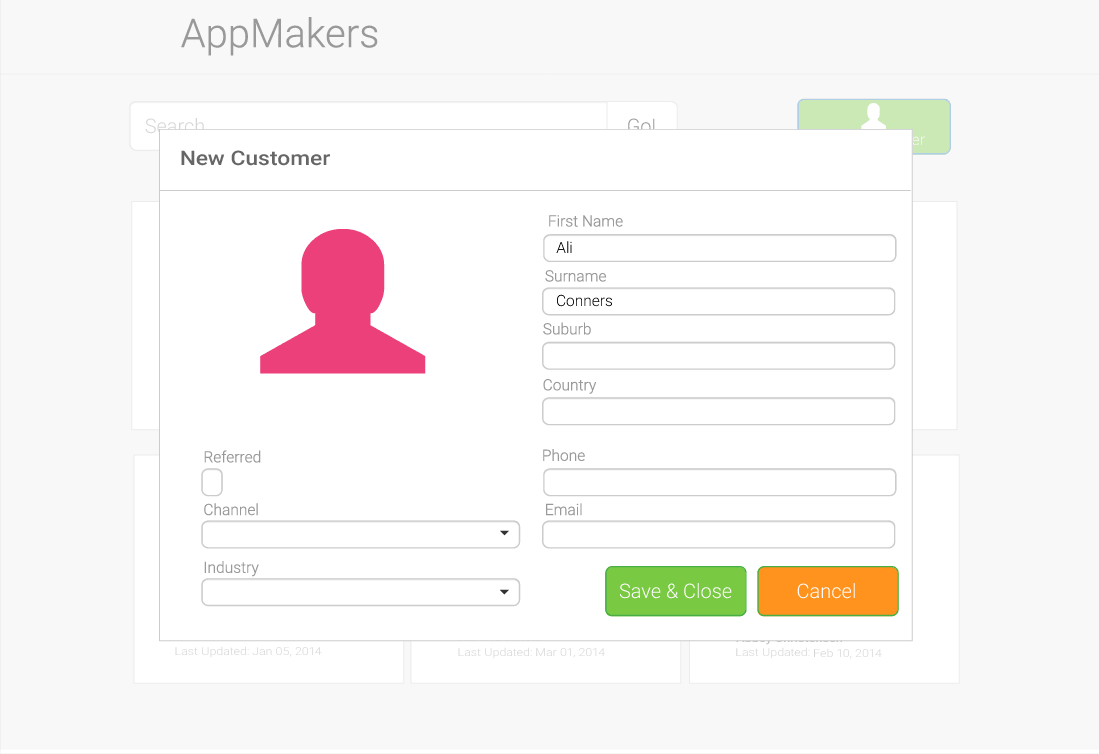
– The Customers Pages, including the use case, storyboard and wireframes
– Backing up our work using Git
– The different types of generators available with the MEAN Stack
– Using the Yo scaffolding tool to generate a Customer CRUD (create, read, update, delete) module
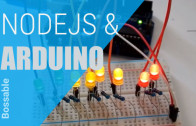
Getting started with Nodejs and Arduino UNO Tutorial
NodeBots Day is just a couple of weeks away, so I want to share what I’ve been doing with Node and Arduino in recent times. This post is aimed at very basic, hello world type examples of using NodeJS as a server to run JavaScript code on Arduino UNO hardware.
AngularJS Material Design Autocomplete
In this tutorial video we’ll get fancy with Autocomplete! We’ll look at some sweet little tricks that you can use when you’re working with small datasets. Both Local and Remote/Server side sets of data can be handled in a similar once the data is available to AngularJS.
AngularJS Material Design Toolbar Tips and Tricks
We look through the AngularJS Material Design starter app, with tips and tricks for Toolbars: including, layout=”row”, layout=”column”, md-tall, tabs and themes.
MEAN Stack – Customer Search using AngularJS Filters – Day 18
In this video we’ll add a search input and new customer button to our List Customers Page. We’ll also use AngularJS Filters to connect our search input to our list of customers, to let us filter through our list of customers.
We look at:
– Continuing to set up the List Customers Page
– Determining the grid layout for mobile vs. larger devices
– Using col-xs and col-sm to change grid sizes based on device size
– Finding and using Bootstrap classes for input-groups for our search bar
– Adjusting the size of input-groups and buttons to align to the wireframe
– Connecting the search input to the list of customers
– Finding Angular Filter documentation on the AngularJS website
– Using Angular Filter syntax to add filtering functionality to our app
– Adding place-holder text to our Search input
Install MEAN.js 0.4.0 and...
Business Processes and Workflows...
MEAN Stack – Deploy...
AngularJS + Nodemailer Contact...
MEAN Stack – Intro...
Make your MEAN Stack...

Business Goals, Feasibility and...
MEAN Stack – Customer...
Getting started with Nodejs...
AngularJS Material Design Autocomplete
AngularJS Material Design Toolbar...
